
When I first started ScrappyCanuck Studios, I found out how much I loved creating tutorials - which makes sense because I am actually a teacher by trade. But I have to admit that the tutorials have been few and far between lately. However, when I joined the ChiChi Memories design team, they asked if I would be willing to take on one tutorial a month. This was a perfect opportunity to dust off the the old tut hat and get back at it!
So I am really excited to have one for you today!


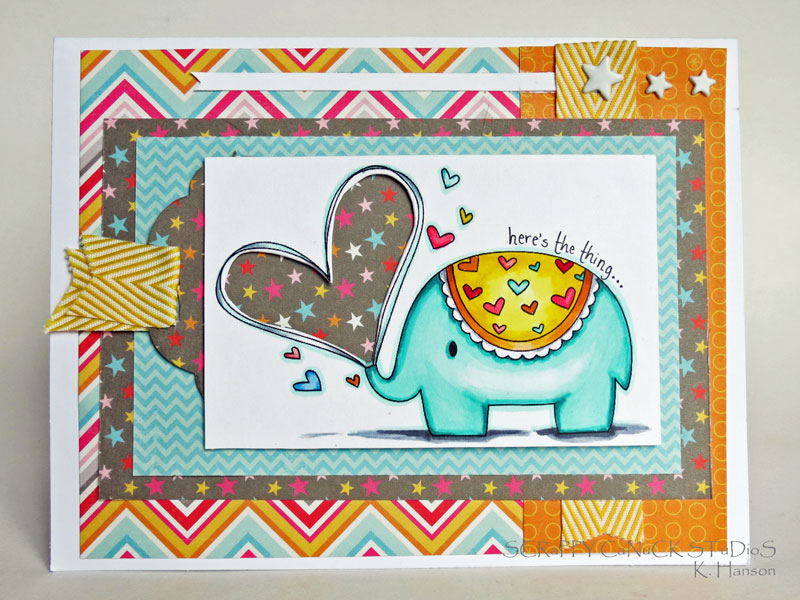
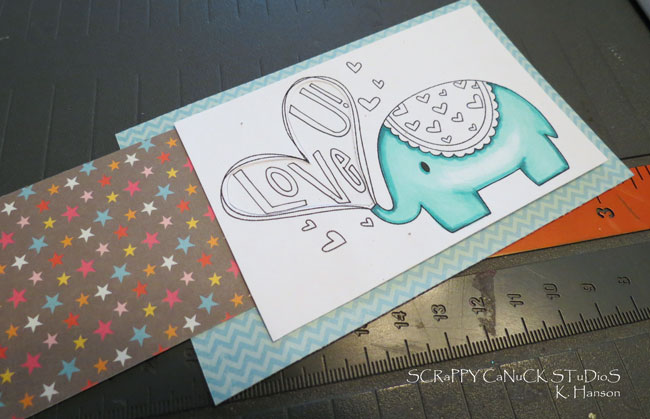
For this little card, I used one of my favourite ChiChi memories stamps called "Elephant Love". In the digi, the heart is actually empty, and I thought that since it was such a great space, it might be fun to create a sentiment slider to enhance this adorable part of the image. So, when closed, the heart is filled with a fun paper pattern, and when open, the sentiment is revealed. It looks far more complicated than it really is - really! Let me show you how:
Materials for slider component:
- Stamp of choice such as ChiChi Memories stamp: Elephant Love
- Patterned paper (at least 2 coordinating patterns)
- Craft knife
- foam adhesive
- dry adhesive strips

Instructions:
Step 1
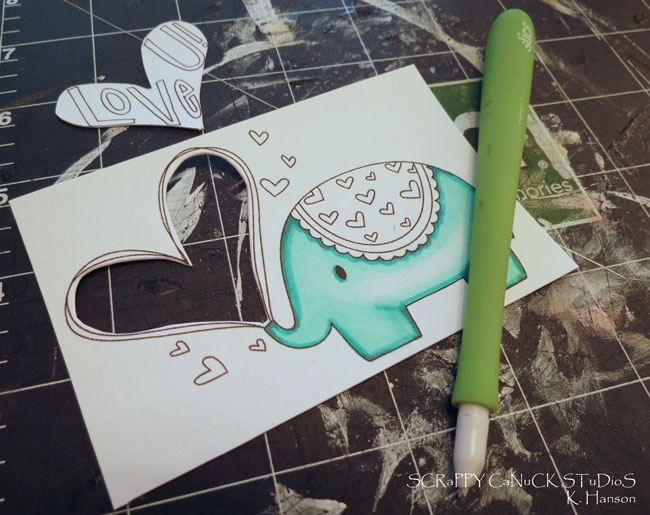
Using a craft knife, carefully cut around the inside of your printed digi. If you are planning on doodling in the cut out, you can do this now or after the slider is assembled.
Step 2

Using a piece of patterened paper, cut out a piece that is at least 1" longer than your stamped image. When placed in the middle, the patterned paper should extend out at least 1/2" from both the right and left sides.
Step 3

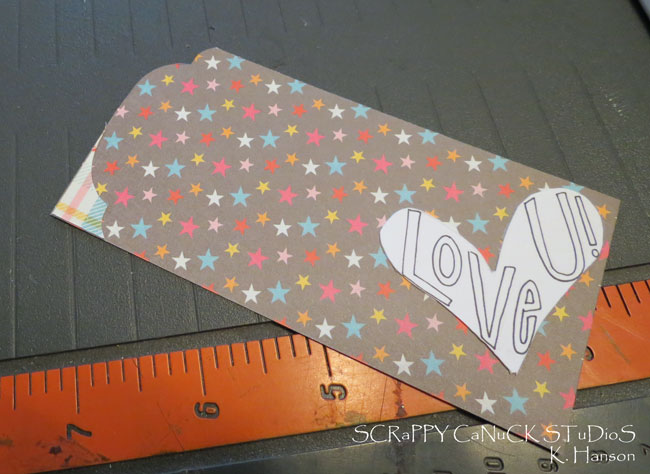
Cut a piece of coordinated pattern paper (star paper in this photo) that is as 1/2" longer than your stamped image, and just wide enough to cover the cutout in the stamped image.
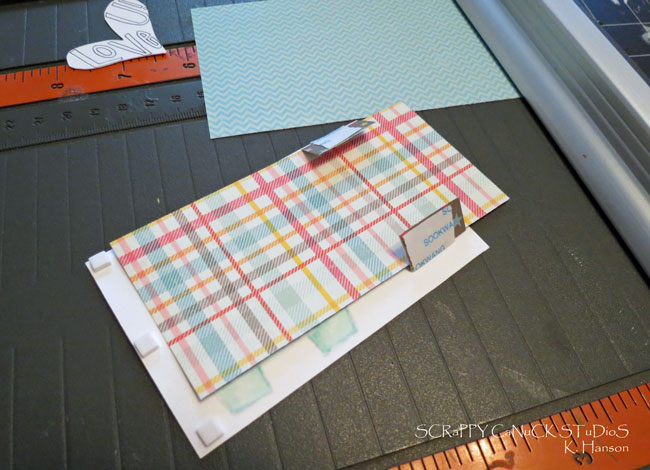
Step 4

Test fit your papers by placing piece 2 under your stamped image, but on top of piece 1. You want to make sure that part of piece two sticks out on one side as this will become your pull tab.
Step 5
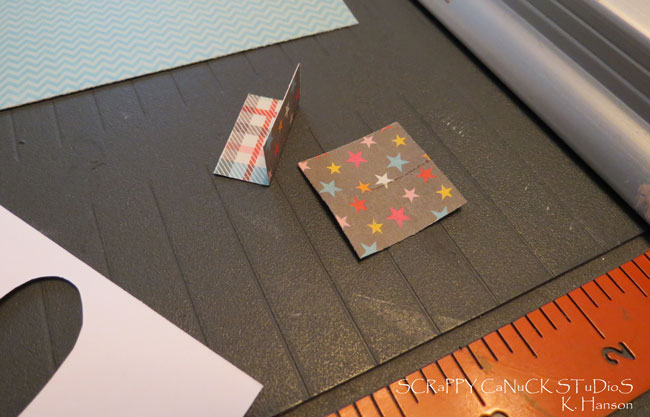
Using any piece of scrap paper, cut 2 1" squares and fold in half (these are the runners for your slider and will not be seen, so do not worry about the appearance of the paper.
Step 6
Turn over your stamped image, and place piece two on top in the appropriate place, covering the stamp cut out. Place some adhesive on each of your 1" square tabs and slide them underneath piece 2, pressing down on the adhesive to hold the slider in place. Add three small foam adhesive square to the far end to compensate for the thickness created by the slider and the tracks for the slider. This will also act as a stopper on the far end.
Step 7

Take the backing off of all of your adhesive, turn over the stamped image and slider and adhere to piece 1 of your patterned paper. pull out on piece 2 to make sure it easily slides in and out.
Step 8
Pull the slider out as far as it will go without moving past the cutout. Take your cutout shape and glue it in place onto piece. You want to make sure to glue down the edges well so it does not get caught on the slider as it is moving past the cutout section.
Step 9
Optional - Pull out piece 2 completely and cut a decorative edge on the left side (I cut one side and then used the scrap piece as a template for cutting the other side).
Step 10
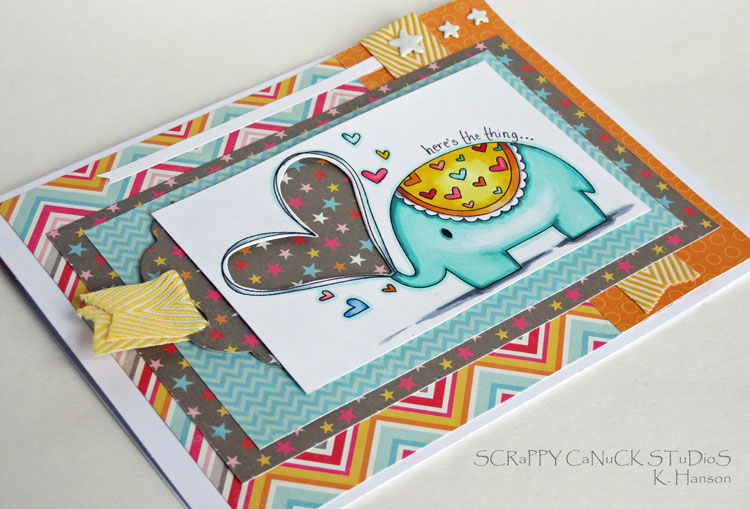
Adhere the stamp and slider on to your card base and embellish. I finished colouring my images at this point to get good colour matching, and added a bit of ribbon to my pull tab.
Variations - If the cutout section seems like a bit too much for you, and great variation would be simply to use the same technique to create a pocket for hidden message.
Phew - I think that's it for me today! Thanks for popping by, and I hope you will give this technique for a sentiment slider a try!


Awesome tutorial Karen, so so cute!! :)
ReplyDeleteOMG, I love the colors on Freddie! Such a cheerful card! Thank you so much for the tutorial. Xxx
ReplyDeleteThis is fabulous!!!
ReplyDeleteThis is full of Cutenesss. Awesome Tutorial! Thanks Karen!
ReplyDeletefantastic tutorial and project Karen!!!
ReplyDelete