
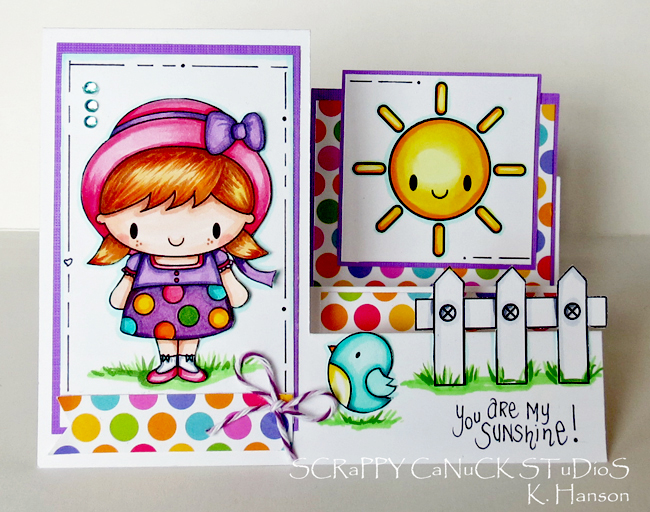

You can see from the side that there are three folds and create step effect on the one side of the card. Sometimes i use this space for the sentiment, but I thought it was perfect for adding the sun in the background on this card. This is a standard 4 1/4" by 51/2" card when finished, so you can still use a standard envelope. Here's how you can create one in under 5 minutes!

- cardstock for base
- craft knife
- scoring board and bone folder (not necessary, but will make the project much easier)
- straight edge ruler
- For embellishments - stamps (like this cutie from ChiChi Memories), patterned paper
- Optional - other fun embellishments like Trendy Twine of some rhinestones
Step 1
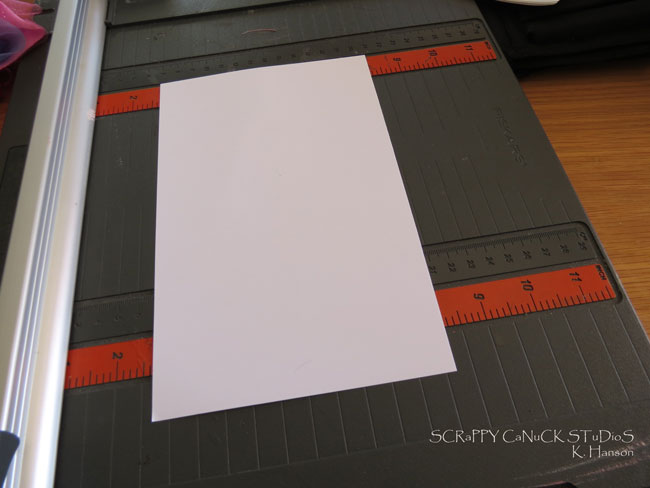
Cut a piece of cardstock 8 1/2" X 5 1/2".
Step 2
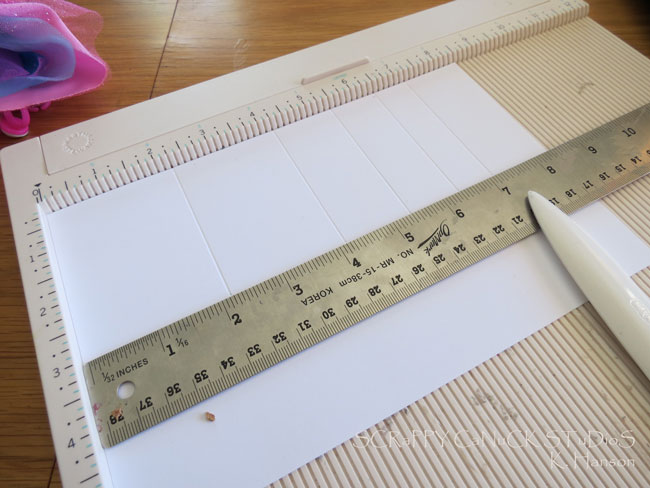
Place your card on your scoring board with the longest edge running across the top. Place your straight edge across the 3" mark. Score down to your straight edge at the 2 1/4" mark, the 4 1/4" mark, 5 1/2" mark, 6 1/2" mark and 7 1/4" mark.
Step 3

Using a craft knife cut along your straight edge starting at the 2 1/4" score line you made, and ending at the 7 1/4" score line.
Step 4

Extend the 4 1/4" score line all the way to the other side and fold your card in half (or you can do what I usually do, and just fold it in half without the score line...I know, I know, it's not as precise, but it still works)!
Step 5
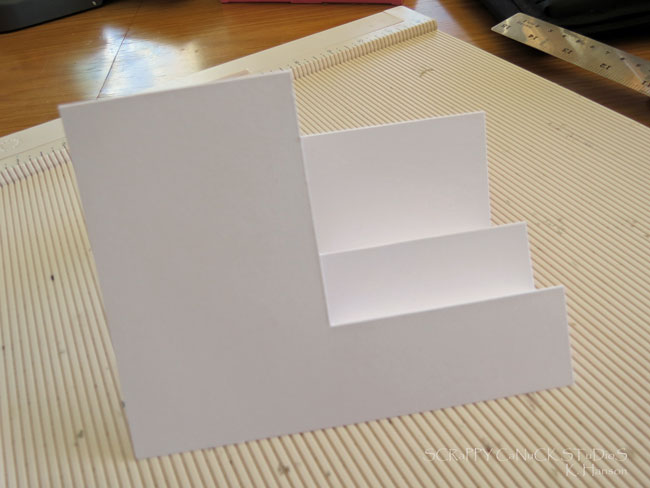
Starting with the 7 1/4" score line, create a mountain fold by folding the paper back on itself at this score line. At the next score line, create a valley fold. Continue with the rest of the folds. Place your card down and run your bone folder along all of your creases to get them nice and compact and crisp.
Step 6

Embellish!
It really is that easy! Once you get comfortable with the folds, you can also play around with the dimensions to get wider and narrower spaces for stamps and sentiments!
Thanks for stopping by, and go give it a try!
CUTE, CUTE, CUTE!!!
ReplyDeleteWhat a treat! Thanks for the ideas Karen.
ReplyDeleteOh My! Love it Love It Love it!! Thanks for showing us Karen!
ReplyDeleteKaren, this is awesome!!! A must try!!! Thanks for the awesome tutorial! <3
ReplyDeleteLove it! Such a cheerful card! Them s for the tutorial: )
ReplyDelete